Yard inflatable is the most popular holiday time outdoor decoration ideas, however, one main downside of inflatables is that they are prone to leaks, punctures, and tears that may render them useless. However, you don't have to discard your favorite yard inflatable, or at the very last minute, there's no time to way for a new delivery. Actually, some can be fixed with tape patch and serve one more holiday. There are several methods of repairing a yard inflatable, depending on the size of the tear and its location. Check this brief guide on how to repair a yard inflatable.
Part 1. Common Causes of Yard Inflatable Falling Flat
Part 2. Troubleshooting The Possible Cause
Step 1. Check the Condition of the Fuse
Step 2. Check the Placement of the Yard Inflatable
Step 3. Check for the Source of the Air Leaks
Part 3. Solutions for Yard Inflatable Repair
Solution #1: How to Repair or Replace the Blower
Solution #2: How to Pick Somewhere Flat and Level
Solution #3-1: Preparation to Fix The Tears on Yard Inflatables
Solution #3-2: How to Fix Vinyl Yard Inflatable Air Leakage
Solution #3-3: How to Fix Fabric Yard Inflatable Air Leakage
Part 4. Great Tips to Make Repairs Effectively and Last Longer
Part 1. Common Causes of Yard Inflatable Falling Flat
Fabric tears and punctures are not the only cause of a yard inflatable not browing up, instead, there are many other cause that lead to that. To take a few for example: The fuse of the blower burns, the inflatable is not fully spread out, etc. Let’s move on to the step by step guide below to figure out the true cause of the issue.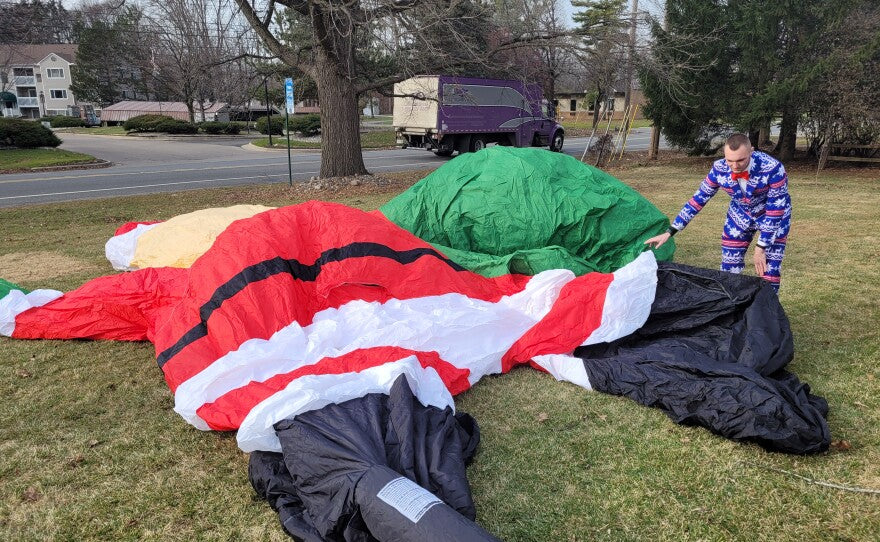
Part 2. Troubleshooting The Possible Cause
Although these products can be stored safely until needed, nothing disorients holiday cheers like an indoor or outdoor decoration falling flat. So, what do you do when your yard inflatable fails to inflate?Troubleshooting the real cause why your holiday inflatable falls flat:
Step 1. Check the Condition of the Fuse
All yard inflatables have a motor fan with a fuse. Suppose a fuse fails, the motor will fail. As a result, no inflation will occur.
If your yard inflatable is down due to the fuse burns, find the fix guide here: Solution #1: How to Repair or Replace the Blower

Step 2. Check the Placement of the Yard Inflatable
Suppose an inflatable is in the wrong spot; it may fail to inflate. Check whether the inflatable is fully unfolded on a flat surface. In addition, check if its blower is on a level and stable surface. Inflatables require the fan to be in good working condition to inflate. Suppose the fans are blocked by leaves, grass, or any material; they won't blow enough air. As a result, the inflatable won't inflate.
Placing the yard inflatable on a wrong place is the cause of not inflating in most case, you can find the guide here: Solution #2: How to Pick Somewhere Flat and Level.
Step 3. Checking for Air Leaks
Check for leakages if the pump is working but an inflatable can't inflate. Confirm that all zippers are zippered as they should. Check for any punctures, during the checks, ensure the blower is running as you listen for hissing sounds.
If you can feel air escape upon checking, these fix guide is definitely what you are looking for:
Solution #3-1: Preparation Needed to Fix The Tears on Yard Inflatables
Solution #3-2: How to Fix Vinyl Yard Inflatable Air Leakage
Solution #3-3: How to Fix Fabric Yard Inflatable Air Leakage
Part 3. Solutions for Yard Inflatable Repair
In the previous part, we’ve introduced several possible causes of a deflate yard inflatables, now let’s cut to the chase and go over the solutions for each.Solution #1: How to Repair or Replace the Blower
To solve this let's review a few things you may look at to determine whether the blower needs to be changed.
• Make sure nothing is obstructing the fan's operation. Look through each fan hole for any debris that could cause this issue.
• Check if the fuse burns. A burnt fuse in your inflatable can be easily fixed, just use a small screwdriver to access the burnt fuse and replace it with a new functional fuse.

If those efforts fail, you might want a new inflatable blower: Your present inflatable blower might include an LED plug attachment if it has inbuilt LED illumination. If so, you might find a blower that functions with your existing lights. It takes time to wait for the arrival of the new blower, no one wants to see the santa claus yard inflatable to lay flat on Christmas Eve, isn’t it? Therefore, I will highly recommend that if you also have yard inflatable for other holiday, for example, a Halloween yard inflatable, you can check if the blower can work as a backup till the exchange blower arrives.
Solution #2: How to Pick Somewhere Flat and Level
The ideal place for installing a yard inflatables should be:
1. Flat ground and put away from stones, branches, grasses and fire;
2. Close to power source and keep away from the reach of the kids;
3. Have enough room with other inflatables to avoid them from squeezing one another;
For a more detailed guide on where to place the yard inflatables and how to set up yard inflatables properly, check this yard inflatable 101 guide here.
Solution #3-1: Preparation Needed to Fix The Tears on Yard Inflatables
Before you start fixing the yard inflatable holes and tears, you will need the following supplies to carry out a yard inflatable repair:
a. A strong thread resembling the color of the inflatable;
b. Sewing needle;
c. Paper towel;
d. Masking tape;
e. Scissor;
f. Household cleaner;
g. Paper;
h. Vinyl resembling the damaged inflatable area (for Vinyl yard inflatables);
Solution #3-2: How to Fix Vinyl Yard Inflatable Air Leakage
Try to inflate the yard inflatable and locate the source of the leak:
Step 1. Hold a piece of paper near the inflatable, observe the paper and if the paper moves, there is air leakage. Find the leaking area, mark it with masking tape.
Step 2. Make soapy water with a citric cleaner or a household cleaner and soak the leaking area in the soapy water, if you see bubbles, you find the leaking hole.
Step 3. Cut a piece of vinyl of similar color from the repair kit and cover the leaking hole with an inch of extra material in all directions.
Step 4. Apply an adequate adhesive material Vinyl patch and place it over the puncture or tear on your inflatable.
Solution #3-3: How to Fix Fabric Yard Inflatable Air Leakage
You can repair fabric inflatable using a thread and needle. You will use a thread three times the size of the tear.
Step 1. Create a loop by threading the needle and tieing the ends together.
Step 2. Pinch together the edges of the tear and stitch them together. Push the needle through the nylon an inch away from the first stitch.
Step 3. Stitch the whole defect, tie a knot near the end of the repair, and cut the excess thread.

Part 4. Great Tips to Make Repairs Effectively and Last Long
Ensure the repair adhesive completely covers the hole before applying it. If you're using the kit's patches to fix inflatables, once the patches have dried completely, add a little additional sealant to the patch's edges to strengthen the seal. Before re-using the inflatable, ensure the adhesive is fully dried and that the fix is effective.
Store the inflatable repair adhesive far from any heat source because it is combustible. When you're using it, don't smoke, and keep repairs away from open flames.


